Category: Art Education

Teaching with the Louisville Photo Biennial

The announcement of receiving an Al Smith Fellowship from the Kentucky Arts Council, presented an unexpected opportunity that forever altered my life.   In the fall of 2013, I accepted the position of Photographer, Artist-in-Residence at St Francis School;  where for two years, I taught an elective photography course to high school students.  Undertaking the challenge of teaching gave me true perspective on the profession, grounded my knowledge of photography, strengthened my passion for the medium and brought great fulfillment previously unknown to me.

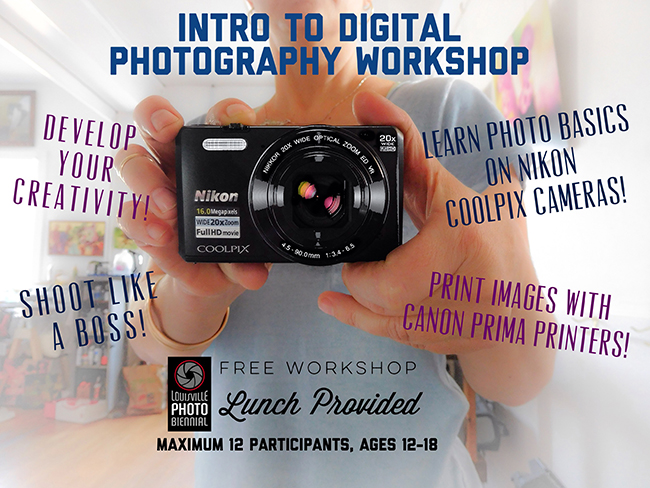
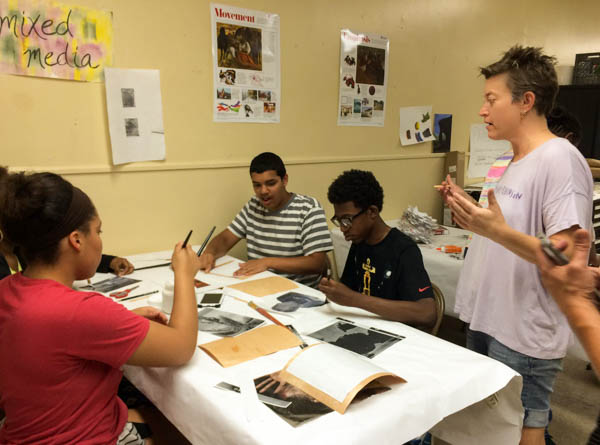
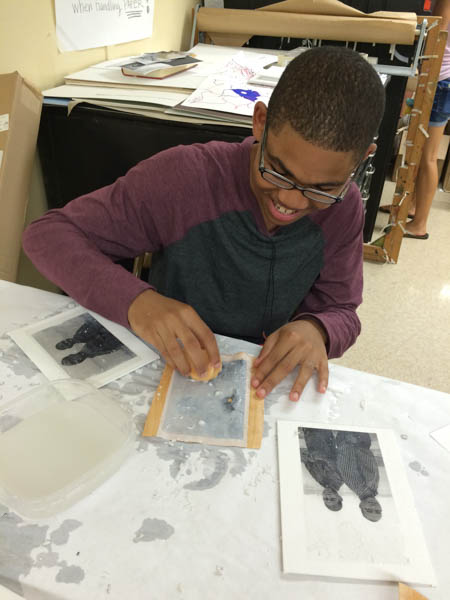
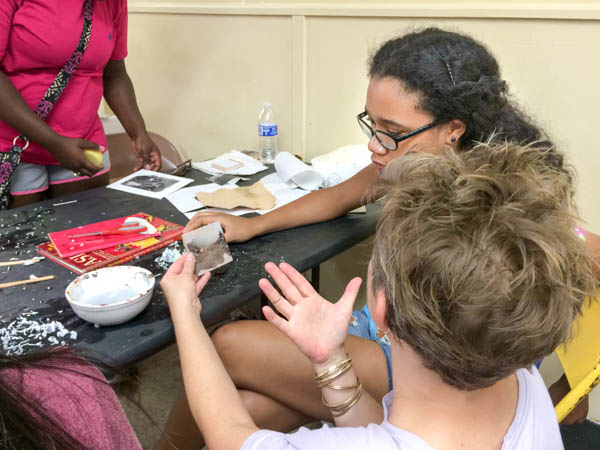
This Fall I moved from the classroom and into the community.  It is an honor to announce my involvement with the Louisville Photo Biennial as their Arts Education Coordinator and Photography Workshop Instructor.  The LPB received a Metro External Agency grant enabling educational programming opportunities to 5 underserved community centers in the Louisville Metro area.  This project is designed to offer youth an introduction to photography and is targeted to middle and high school students.  We are bringing in Nikon CoolPix cameras and Canon Pixma printers for these workshops.  In addition to teaching basic camera instruction and creative operation, I will address the fundamentals of strong photo composition.   The interactive lesson plan culminates in a photo scavenger hunt that challenges participants to think creatively while using particular functions of their cameras.
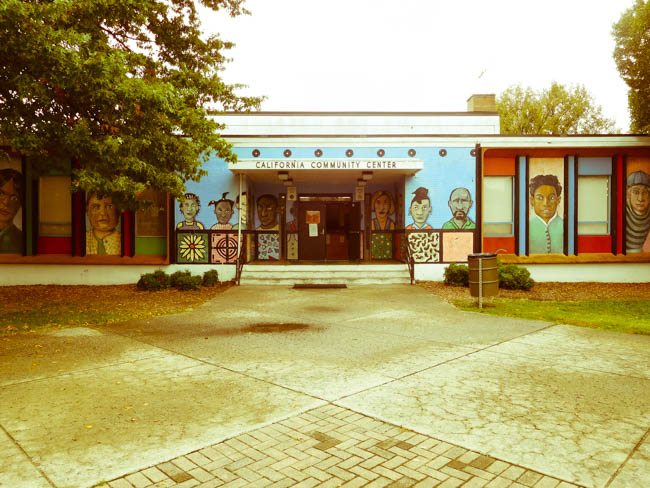
 

Stay tuned for an overview of each workshop!  If you know of any teens interested in participating in these workshops, please don’t hesitate to contact me.

Alien Nation, CreativeLive & #PhotoWeek2015

Ya know, I gotta say, I LOVE CreativeLive, the online learning platform that broadcasts live classes in photography, film, music, crafts and more!   I learned of them two years ago when I first starting teaching photography to high school students.  CreativeLive has been an invaluable tool for me…not only in my role as a photography instructor, but also as a fine art photographer.

creativelive

I have viewed many live classes and have actually purchased several for watching at my leisure at a later date.  In fact, I designed this website after purchasing Brian Wood’s class, Creating a Responsive Website with WordPress!!

So I couldn’t help but be excited by their #PhotoWeek2015 photo contest, where the winner was awarded an all expenses trip to Seattle to be a member of the guest audience during CreativeLive #PhotoWeek2015!  Gotta admit, most of the time, I do not participate in FaceBook contests because they seem to pretty much be based on popularity…who’s got the discipline to ask their friends, ON A DAILY BASIS, to vote for them??  Not daily, but more times than I felt comfortable, I put it out there…because the prize was just that good…and many of you took the time out to vote for me and I still can’t thank you enough!!

But imagine my excitement when I received an email from CreativeLive’s Lindsey Bluher stating...”We loved your entry in our Photo Week 2015 contest! So much so that we’re planning on including it on our social networks.”

I was more than happy to answer their questions about the image entitled ‘Alien Nation’ which is part of an on going series entitled Alt-Country:

IMG_7806      IMG_7807

And while I was not the grand prize winner…CreativeLive promoted my work more times than they needed to…on Twitter, Instagram AND Facebook…which was almost better than actually winning the grand prize itself! The above screen shot is their promotion on my image in Instagram…which generated 1101 likes (and counting since captured!!!) …mostly from individuals who do not know me personally.  I know that in the real world of ‘likes’ and social media, this is not much to brag about…but I still can’t help to look at this as a total victory!!
Check out CreativeLive for yourself and see why it is such an amazing site!!   Join me as I’ve been geeking out all week!
jz
Photo transfer onto tile by Jeneva Lindsey.

Photo Transfer Workshop FUN!

Just a few shorts weeks ago, I had the pleasure of being a Guest Artist for Louisville Visual Art’s Studio 2000 at Shawnee’s Art and Cultural Center, where I led a photo transfer workshop!  Studio 2000 is a competitive eight week visual art program for teenagers.  Students have the opportunity to work with professional artists in clay, fiber & mixed media…so it was a true honor to introduce photography to the mix of mediums with a hands-on technique that broadens the horizon of what a photograph can be!  One of the many cool things about this program is that students actually get paid to create work during this 8 week program.  The culmination of this work can be viewed at The Studio 2000 Annual Exhibition and Sale this Thursday, August 6th from 5-7pm at the Kentucky Center for the Performing Arts!!  Proceeds from the sale are returned to Studio 2000 for future programming.  Click here to learn more about the exhibition with images of what will be available for purchase August 6th.  You’ll be sure to see me there!!!!

Photo transfers has played a huge role in my work in the past few years and have allowed me to ‘print’ onto wood, metal, tile, and canvas.  In some cases the photo transfer is the first layer I work with…oftentimes, it’s the last layer…and sometimes it’s BOTH!  There are so many ways to create photographic transfers, but since this was a 2 hour workshop, I decided to largely focus on Acrylic Gel Photo Transfers.

So grateful to work with participating students of Studio 2000! Photo by Sunny Ra.

Acrylic gel transfers are super easy with a pleasantly short materials list. Here’s what we used:

– acrylic gel medium*
– brush
-sponge and water
– scissors (in case trimming is necessary)
– an image to transfer**

*notes on the gel:
The beauty of this technique lies in the nature of the acrylic – you can adjust and modify the gel to suit your needs.  For this workshop we used Golden’s Soft Gel Gloss Medium…but any clear acrylic medium works.

**notes on the image:
Any image can be used for transferring, but not all transfer the same…to ensure a good transfer, use an image that is printed in reverse from a laser printer at a copy shop…ink-jet prints generally don’t work.  You definitely want to print in reverse if your image is text dependent.

The process is simple.  Trim photocopy to leave little or no border.  Brush an even layer of gel over the surface of canvas, wood or substrate of choice.  Place photocopy face down into the wet gel and burnish softly with popsicle stick…allow to dry completely.  Once dry, use a damp sponge to gently wet the transfer.  Begin rubbing away the paper backing.  Working in soft circular motions, wipe away paper as you go…adding small amounts of water as needed until the image is revealed.


Voilà!  Simple and successful…just like this workshop!  Thank you to Sunny Ra, Ehren Reed, Studio 2000 and LVA for inviting my participation!  Looking forward to the exhibition on Thursday!!

jz